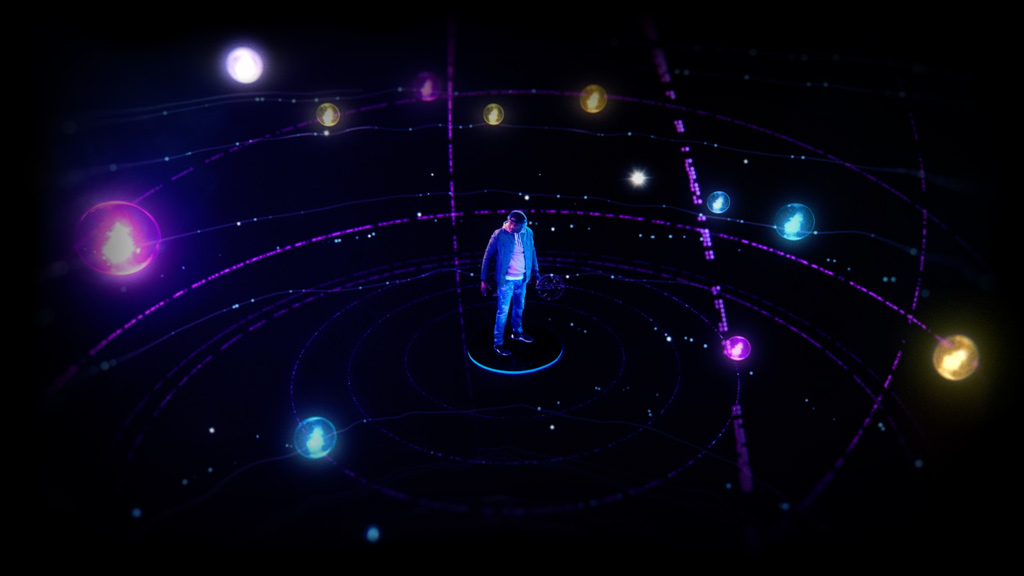
360 SOUNDS 360 EXPERIENCE
With standard stem files or multi-track recordings from the studio or a live performance, mix in 360 Reality Audio using WalkMix Creator. Encode and deliver your music in 360 Reality Audio Music Format, a format optimized for music distribution and compliant with MPEG-H 3D Audio, an open audio standard.
VIRTUALIZER-READY FOR HEADPHONES
WalkMix Creator has a virtualizer for reproduction with headphones. When the sound reaches the eardrum, it is affected by the echo of the room and the shape of the ear, causing a change in the sound in the space. When playing back with headphones, you can embody the feeling of being there by digitally reproducing the same changes in the sound played through the headphones.
Windows
- Windows 10 (64-bit: Home, Pro, Enterprise) or Windows 11 (64-bit)
- Intel® Core i5 processor (Intel® Core i7 or newer recommended)
- 16 GB RAM (32 GB or more recommended)
macOS
- macOS 10.15 or greater
- Apple M1, Apple M1 Ultra, or Intel® Core i5 processor, Intel® Core i7 or AMD Ryzen™ 7 or newer recommended
- 16GB RAM (32GB or more recommended)
The following Digital Audio Workstations (DAWs) are supported for WalkMix Creator:
• AVID Pro Tools® (video and audio)
• Ableton Live™
• Apple Logic Pro®
• Steinberg Cubase
• Steinberg Nuendo
• Magix Sequoia
• Presonus Studio One
• Reaper
• Adobe Premiere Pro (video and audio) [Limited support – refer trouble shoot]
• DaVinci Resolve (video and audio) [min v19]
Please note that although other DAWs such as FL Studio or Bitwig are compatible with our plugin via
VST3, they are not currently supported. Support will come in future versions. Feel free to try out 360
WalkMix Creator in these DAWs, but we cannot guarantee the robustness, performance, or feature parity
with the DAWs mentioned in the list above. Also, not supported is HDX as a DSP.
Please refer to detailed operational requirements and system requirements for your specific DAW.
First, add the plugin to a track:
- Add an instance of the WalkMix Creator plugin on one of the audio tracks in your project.
- If you do not have an audio track in your project, please add one at this time and then add the WalkMix Creator plugin to it.
- The WalkMix Creator plugin will launch.
- Feel free to close or move this instance of the plugin aside, as this is not the master. We will click “Yes, it is!” later.
Next, add the plugin to the output or master track:
- Add the WalkMix Creator plugin to the output/master track. Note: On some DAWs this can be called “output” or “Stereo Output” and others, “master.”
- At this time, just add the plugin to your master track.
- A second WalkMix Creator Plugin window will launch
Enable WalkMix Creator:
- Verify that you currently have the master/output selected in your DAW and Click on “Yes, it is!”
- This will set up your project so that you can monitor your output in a spatial format.
- To access WalkMix Creator settings, click the settings icon.
- Click the Devices tab. Using the drop-down menus select and set the following: Output type, Output device, set the Sample rate to 48000, and set your Output buffer size.
- For Output type and Output device: Because this plugin has object audio rendering processing and can’t render output to the DAW due to bus constraints in DAW, render output should be connected to a DAC system to listen to WalkMix Creator mix audio over loudspeakers.
- Depending upon the capabilities of your system, please choose an Output buffer size of 1,024 or greater, keeping in mind that multiples of 512 are preferable. For example, 1024. If you find that the audio stutters during normal operation, please increase your buffer size further.
Please see your specific DAW’s manufacturer guidelines for instructions on how to add a plugin.
- You can change the grouping of objects by simply clicking on an object and dragging it into an existing group. You can also move objects between groups via this method.
- To change the color of an object or group, select the group or object you wish to change the color of and click next to “Color” in the properties pane.
- You can click on the object in the 3d view or top-down view and drag it into your desired position.
- You can select the object or group of objects in either of the viewports or via the objects list and click and drag up or down on either the Elevation or Azimuth to increment or decrement the value respectively.
- You can also click in the Track, Elevation, Azimuth, or Gain values, and type the value you would like to adjust. A single click will allow you to type a value, a click and drag will allow you to increment or decrement the value.
- You can change the gain per object of per group by selecting the object or group and clicking and dragging up on the Gain parameter to increment and down to decrement the gain value in the Properties pane.
- Although you can edit the speaker layout in the settings pane, you can toggle displaying your speaker layout in the editing views by clicking the speaker Icon above the viewport
By default, WalkMix Creator shows a plugin window, or “compact view” that fits nicely into your DAW’s environment. If you are planning to focus heavily on object editing, you can maximize the plugin window and enter “Focus view” by clicking the maximize Icon in the plugin window. This icon can be found at the top right of the plugin, directly above the object list.
If you are using a multi-monitor setup, it is highly advised to move the WalkMix Creator plugin window to the desired screen before entering focus view.
To return to compact view, click the same icon used to enter focus view.
If you are using ASIO or any audio drivers that have their own control software, please refer to your hardware or software manufacturer’s documentation for setting driver specific parameters such as sample rate and buffer size.
To setup headphone monitoring:
- Click the “settings” icon
- Click the “headphone” tab
- Select the HRTF profile you are currently using.
To enable headphone monitoring: click the “headphone” icon at the bottom of the plugin, directly below the object list.
Exporting object-based formats (audio/video)
You can export your session by doing the following:
- Click the settings icon and select the “General” tab.
- Take note of the “Export folder” setting. If you would like to change the location that exported files
are exported to, click “Change” and set the path. - Note the path that is set.
- Verify that WalkMix Creator is turned on in the plugin.

- Select the range you would like to export.
- Export via Export or bounce:
1. Pro Tools: select “File->Bounce Mix” making sure that “PCM Interleaved” is selected for
“Audio settings”. If you’re working with both audio and videos, ensure “.mov” is selected
for “File format.”
2. Ableton Live: “File->Export Audio/Video”
3. Logic Pro: “File->Bounce->Project or Section” (⌘B)
4. Studio One: “Song->Export Mixdown” Note: please make sure that there is a selected
range and “Between Song Start/End marker” in the “Export Range” is selected. Also make
sure that “close after export” is not checked.
5. Cubase: “File->Export->Audio Mixdown”
6. Nuendo: “File->Export->Audio Mixdown”
7. Sequoia: “File->Export->Wave” or “File->Advanced Export & Track Bouncing”
8. Reaper: “File->Render” Select all the tracks and master tracks, and at the export
window select the “master mix”
9. DaVinci Resolve: Select “File -> Deliver” making sure that “QuickTime” is selected for
“File type”, “H.264” for “Codec”, then “Uncompressed” for “Audio Codec”. Important-
Ensure that FX is set as the last in the effect order for EQ-DY-FX for our plug-in to receive
the processed audio as no DSP effects modify the sound after our plugin.
10. Adobe Premiere Pro: Select “File -> Export -> Media” making sure that “H.264” is
selected for “Codec” then “Uncompressed” for “Audio Codec”. Playback the project for a
few second for Premiere to initialize the system state for export. - Select the output folder. Please use the path in the “Export folder” above. Important: Exporting to
a different path than the path set in the plugin’s “Export folder” setting will not export WalkMix
Creator object-based audio format. - Other Settings considerations:
1. For all DAWs: Make sure that the Sample rate is set to “48khz” and bit depth to “24-bit
integer”.
2. For Reaper: “Options->Preferences-> Plug-ins/VST ->Parameter automation
notifications” should be set to “Process all notifications.”
3. For Cubase and Nuendo: Set “Channel selection” to “Single.”
After the DAW’s portion of the bounce process is complete, an export window will be presented.
Important: If WalkMix Creator’s export window does not show after the DAW portion of the bounce,
please ensure that the output or bounce destination path in the DAW matches the “Export folder” in
WalkMix Creator’s settings. This setting can be found by clicking the gear icon and navigating to the General tab. In most DAWs, the output path is configurable in the window presented during the DAW’s bounce process.
Exporting channel-based formats (audio/video)
You can export your session by doing the following:
- Click the settings icon and select the “Devices” tab.
- Choose “Walk Mix creator” as “output type” and “Host Master” as “output device.”
- Verify that WalkMix Creator is turned on in the plugin.
- Follow the normal export process in the DAW or NLE.
- Other Settings considerations:
Make sure not to export into our plug-in’s export folder to generate channel- based audio.
Important: You don’t need the WalkMix Creator export window in this process. Export via DAW or
NLE as normal export operation.
Paddle.com is the payment processor and reseller which provides services to WalkMix Creator customers that include:
- Processing payments
- Aiding in tax
- Compliance
- Emailing receipts
- Customer support for billing related inquiries and refunds at
http://help.paddle.com/ or https://paddle.net/ or help@paddle.com. Orders will appear on your bank/card statement as “PADDLE.NET* WALKMIXCOM”. For more details on Paddle’s policies, please see: Paddle’s Terms & Conditions and Paddle’s Privacy Policy
The WalkMix Creator generates MPEG-H/.mp4 files and/or multiple sets of .WAV files with instructional meta data that defines audio positioning and automation.
At this time, WalkMix Player is the only playback app that supports Standard Hearing Profile EQ for 360 Reality Audio Renderer.